Training· 6 min read
Barbell back squat: setup, depth and technique
Other names: Back squat, Barbell squat
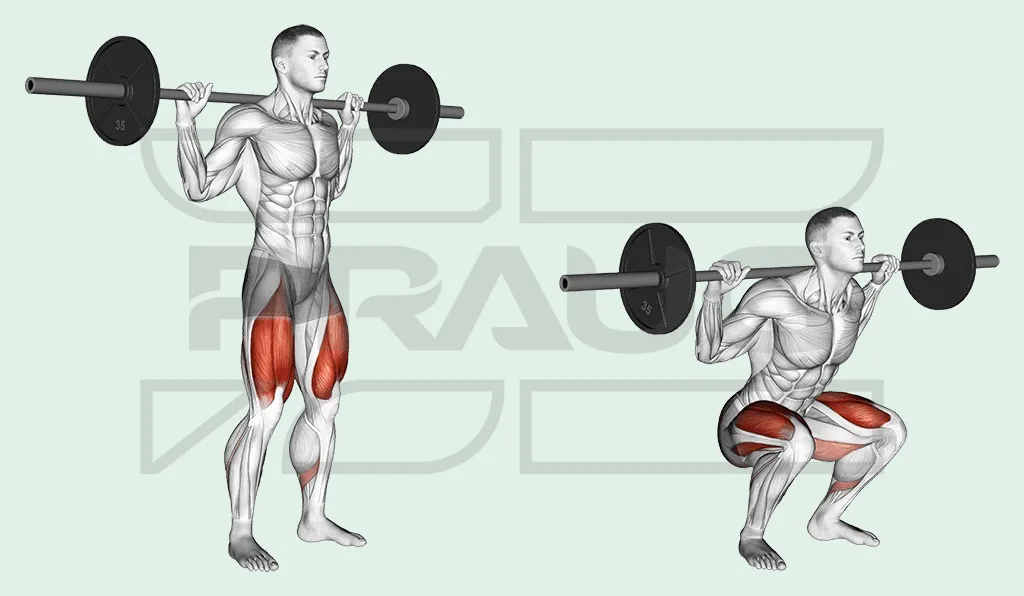
A barbell back squat lowers and raises the body by bending and extending the hips and knees with a bar supported across the upper back. The quadriceps, glutes and adductors contribute while the trunk supports the load. Begin with a tested rack setup and a range you can control.

Certified fitness coach · CQP Instructeur Fitness
Published on
The essentials before you start.
- Set the rack and safeties before unracking a demanding weight.
- Choose stance, bar position and depth for a repeatable task rather than one universal body shape.
- Keep the feet supported and control the descent and return.
- The cited studies do not establish one injury-proof technique or a complete hamstring programme.
Exercise facts
- Main muscles
- Quadriceps, Gluteus maximus
- Secondary muscles
- Adductors, Hamstrings, Spinal erectors, Abdominals
- Equipment
- Barbell, Squat rack and appropriate safeties
Muscles worked and what depth research shows
The quadriceps extend the knees; the glutes and adductors contribute to hip extension. Trunk muscles help support the bar and the lower legs contribute to balance and control. Their roles overlap with other exercises without making all lower-body tasks interchangeable.
In a small ten-week barbell-squat trial, deeper training produced larger glute and adductor volume changes than half squats, while rectus femoris and hamstring volume did not detectably change. This is a specific protocol, not proof of an optimal depth for every person.
The other cited experiment measured acute knee mechanics and muscle activity under technique variations. It did not compare long-term growth or injury rates. A higher activity value does not establish that squats are universally better than leg presses.
Set the rack and unrack with control
Use a rack and bench-free area intended for squatting. Set and test appropriate safeties with a light bar, including how you would stop a failed repetition. A spotter needs an agreed assistance plan.
- Set the hooks so you can lift the bar clear without rising onto the toes. Position the safeties for your intended range.
- Place the bar on a supported muscular area of the upper back, with a grip you can maintain comfortably. Do not rest it directly on the neck.
- Establish stable feet and trunk support, stand to unrack and step back only as far as needed.
- Choose a comfortable stance and toe angle. Settle before beginning the first repetition.
- Bend the hips and knees together and lower smoothly, allowing a torso angle suited to the chosen bar position.
- Stand through the supported feet with the hips and shoulders rising in a controlled pattern.
- After the final repetition, regain a stable standing position and walk the bar into both hooks before lowering it.
Depth, high bar and low bar
High-bar and low-bar positions change balance, torso inclination and joint demands. Neither position automatically suits everyone with a particular limb length, and the cited studies did not directly compare their long-term results. Practise a chosen version with a manageable load.
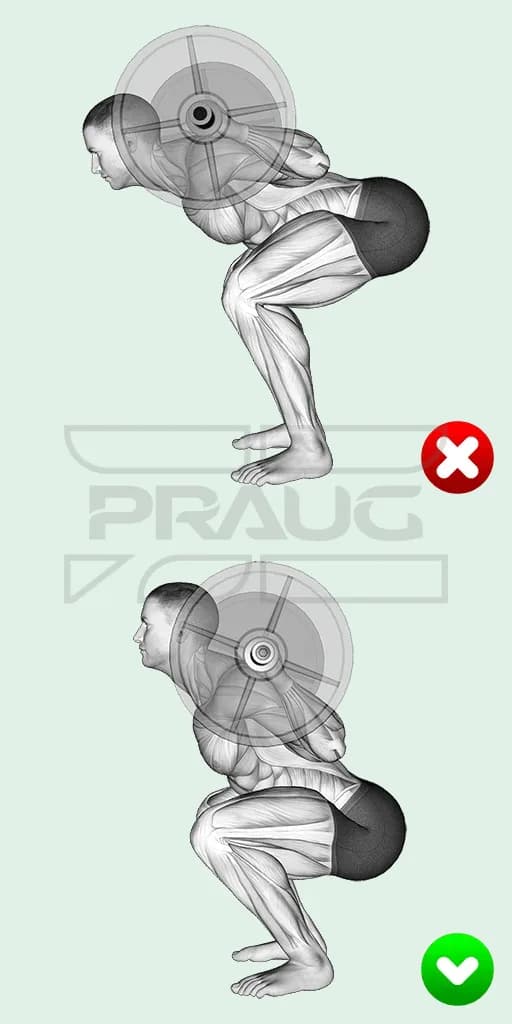
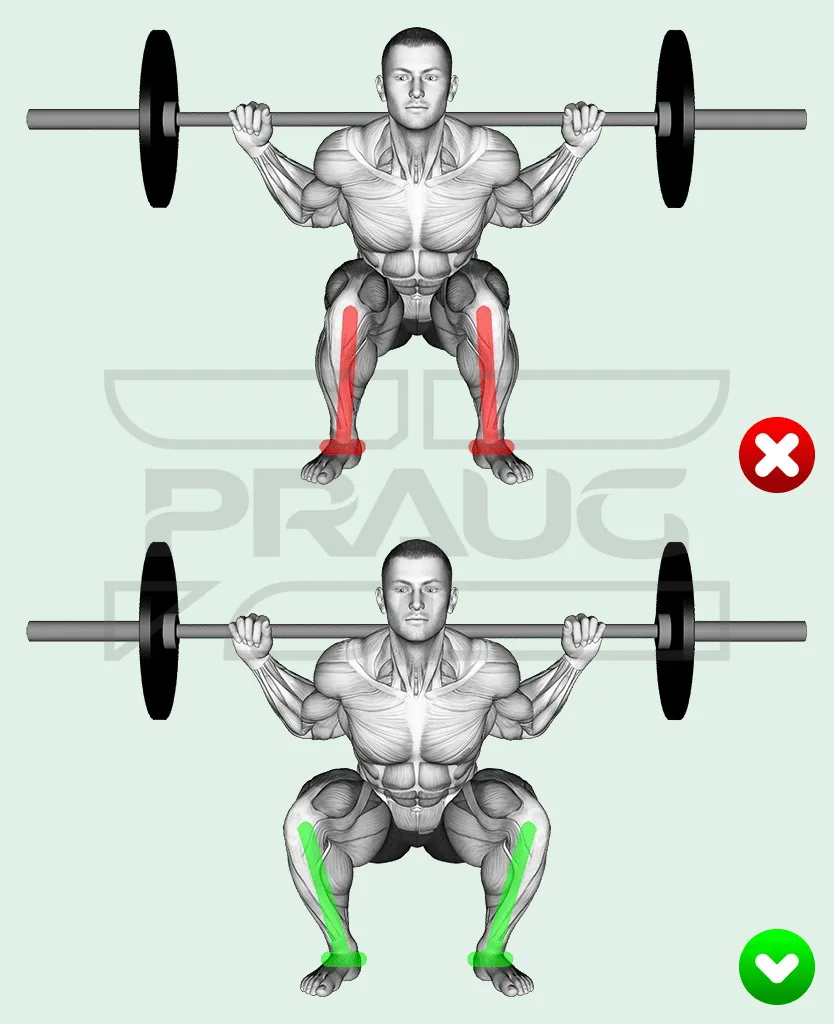
Choose a depth you can repeat for the goal. Parallel can be a useful reference; a smaller or larger range is a different task to log. Do not force depth through pain or use a single image of pelvic motion to diagnose injury risk.
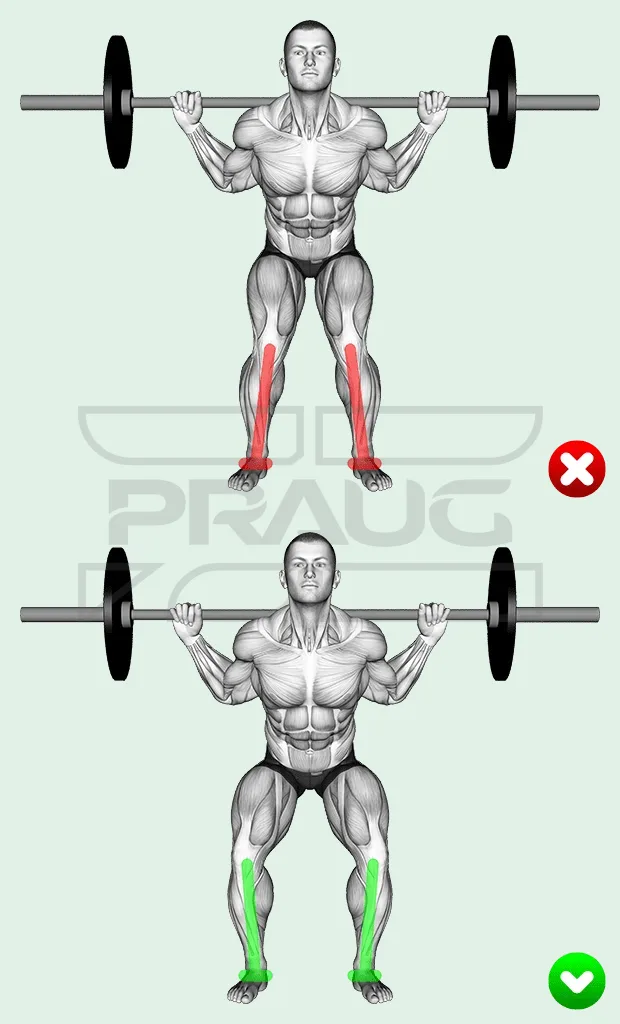
Knee movement beyond the toes and some torso inclination can be normal parts of squatting. Stable foot contact and controlled movement matter more than forcing vertical shins or a vertical torso. Use a breathing and bracing strategy you can maintain and that fits any individual medical advice.
What to check when the squat changes
If the heels lift, balance shifts abruptly, the chest drops or the hips shoot up before the bar, reduce the demand and review stance, pace and depth. These observations do not identify a single weak muscle or stiff joint.
A plate number achieved with a much shorter range is not the same comparison. Record the change rather than treating every additional kilogram as progress at the original task.
Do not repeatedly work through sharp pain or rely on a coach’s cue as a diagnosis. Persistent symptoms need individual advice. Appropriate safeties remain necessary even when technique feels familiar.
Other squat and lower-body options
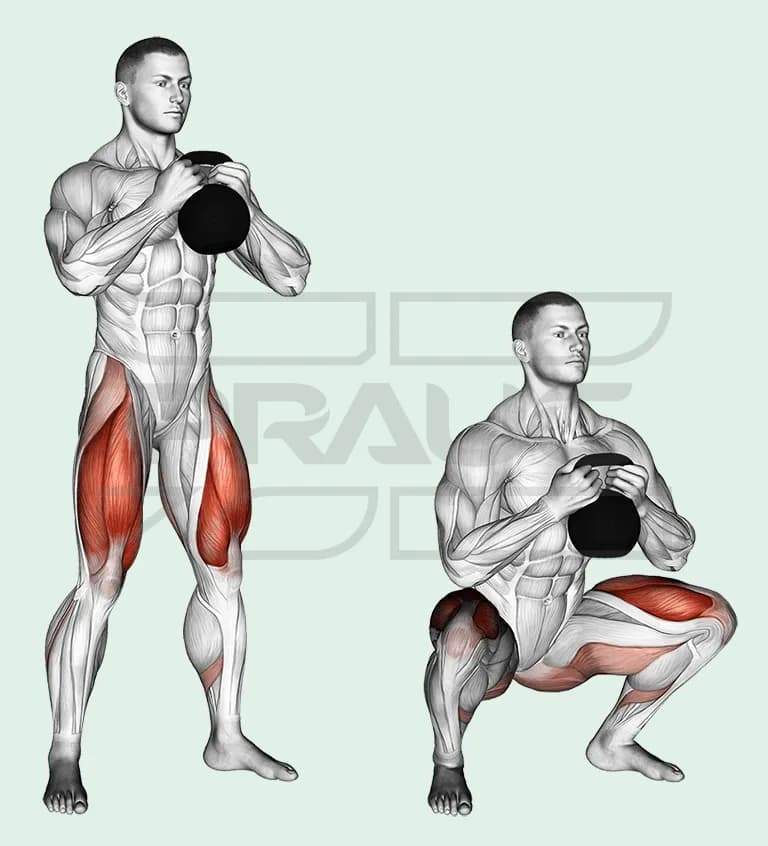
An air squat removes external load; a goblet squat puts a weight in front. A front squat uses a different bar position and needs its own setup.
Hack, belt and pendulum squat machines constrain or support the movement in different ways. They do not eliminate every load on the back. The inclined leg press is another supported option with a distinct task and stop system.
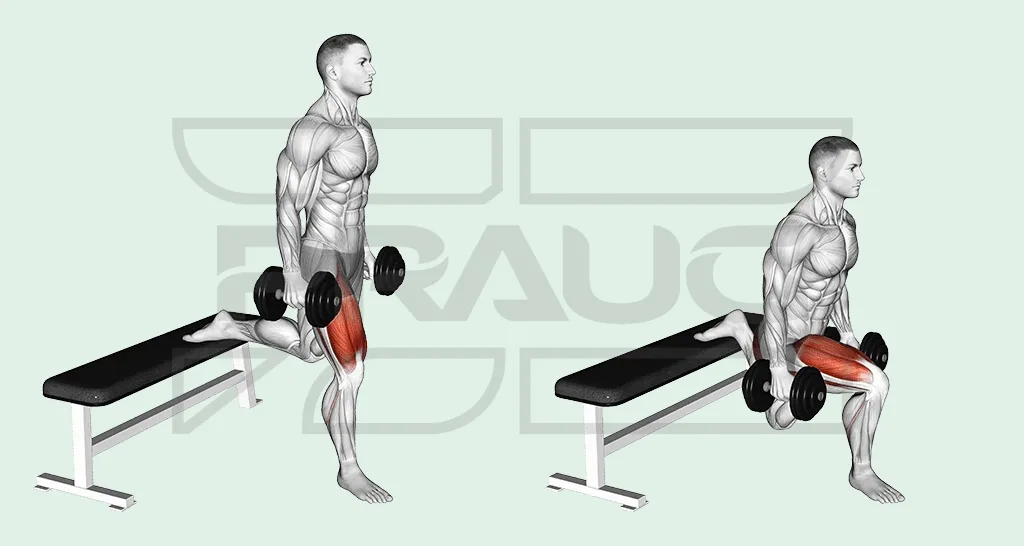
A Bulgarian split squat changes the stance and distribution of support. Pistol, Cossack and sissy squats are other skills, not compulsory progressions at home. Use supports and equipment intended for the task.
A squat is not a substitute for every hamstring function. Compare the seated leg curl and Romanian deadlift when choosing the whole week.
Sets, repetitions and progression
One coaching example uses 3–5 working sets per session and one or two weekly exposures as one arrangement. It also gives lower-repetition strength work or moderate-repetition training. These are coaching examples to adapt, not doses established by the cited depth study.
Prioritise the squat early if improving it is the main aim. Leave repetitions possible while practising, and adjust the amount to the rest of your training and recovery. Repeated failure is not required to make a session count.
Record bar position, stance, heel support, depth, load, repetitions and perceived effort. Increase demand when the existing task remains repeatable. A lighter week or a different exercise can be a deliberate choice, rather than a failure to progress.
Illustrated positions and variations
These original illustrations show example setups. Choose a range, support and difficulty you can control.
Back squat movement
Position examples
Other squat options
Frequently asked questions
High bar or low bar?
They are different setups. Choose one you can support and practise consistently; the sources here do not establish a universal winner.
How deep should I squat?
Use a controlled range for your task. The small depth trial does not prescribe an individual safe depth.
Does the squat cover all hamstring training?
It uses the hamstrings, but that does not make it equivalent to a knee curl or hip hinge. Choose the whole programme by function and goal.
Do lifted heels prove ankle stiffness?
No. Stance, balance, equipment, depth and proportions can all affect the movement. One video is not a diagnosis.
Sources and limitations
Sources support the passages that cite them. Practical suggestions are coaching choices to adapt to your own situation.
- Kubo et al. · 2019 · Barbell-squat training at two depths over ten weeks. ↗
Small male sample; loaded squats, not a direct test of air or goblet squats. No universal depth or safety rule follows.
- Escamilla et al. · 2001 · Knee mechanics and muscle activity under squat and leg-press technique variations. ↗
Ten trained men and acute measurements; no long-term growth, injury follow-up or comparison of every machine angle.
This general information does not replace individual advice. Zepraug’s limitations.