Training· 4 min read
Side plank: setup, duration and variations
Other names: Side bridge
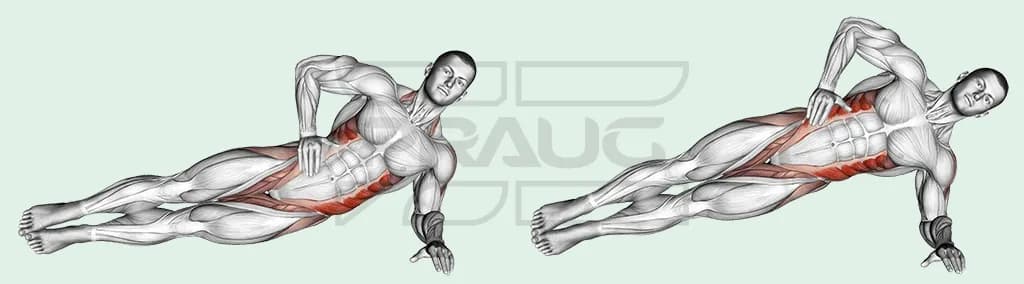
A side plank supports the body on one side while you resist the trunk and pelvis sagging towards the floor. The obliques, shoulder and hip muscles contribute to the support task. Start on the forearm with the knees or feet supported, choosing a version you can hold while breathing.
Certified fitness coach · CQP Instructeur Fitness
Published on
The essentials before you start.
- Choose a lower-arm and leg support position you can control comfortably.
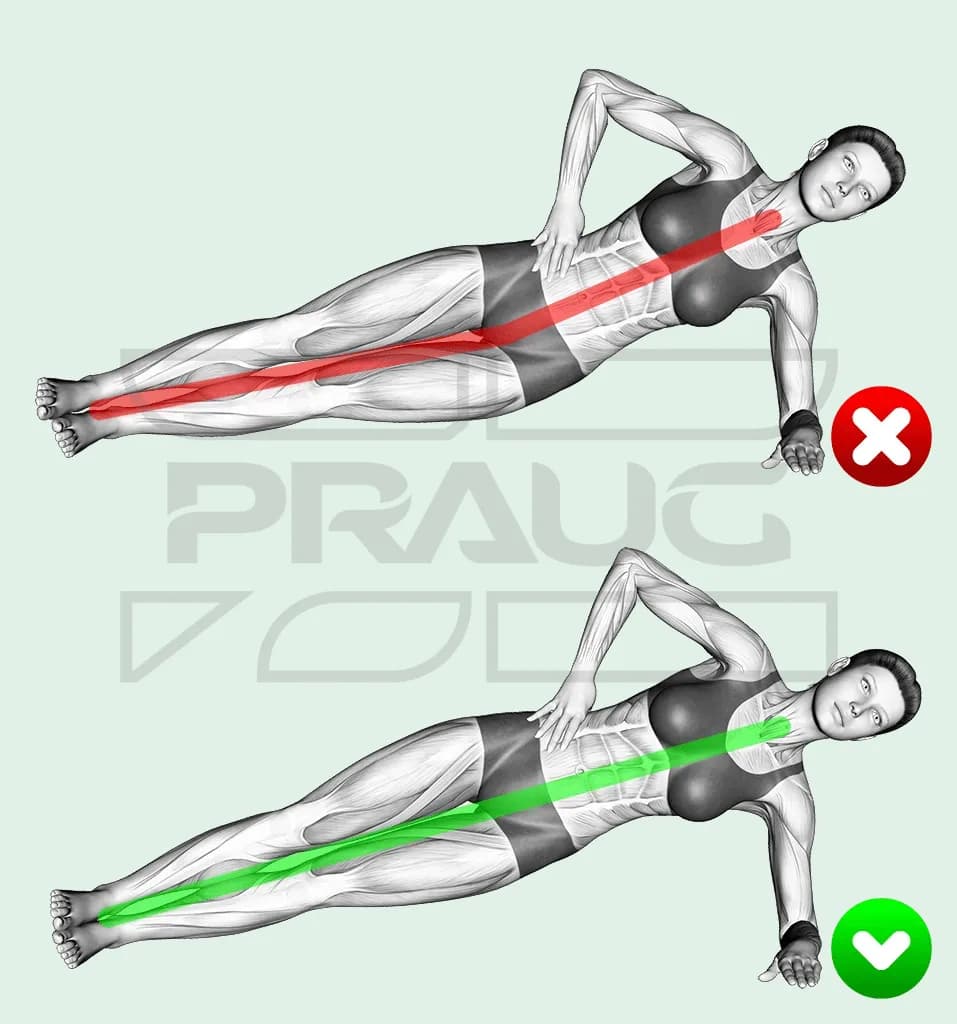
- Keep the intended body line rather than forcing an identical shape on every body.
- Knee support, staggered feet and shorter holds are valid adjustments.
- Acute muscle activity does not prove injury prevention or a guaranteed transfer to sport.
Exercise facts
- Main muscles
- Internal and external obliques
- Secondary muscles
- Gluteus medius, Quadratus lumborum, Abdominal wall, Shoulder-support muscles
- Equipment
- Bodyweight, Mat
What the side plank trains
The obliques contribute to resisting lateral bending. Hip muscles, the shoulder-support muscles and other trunk muscles help maintain the position. Both sides can contribute in different ways; the upper side is not simply switched off.
The cited studies measured electrical activity during bodyweight exercises or side-bridge variations. They did not measure long-term strength, growth or injury prevention. Crossing an activity threshold in one experiment is not proof of a future training adaptation.
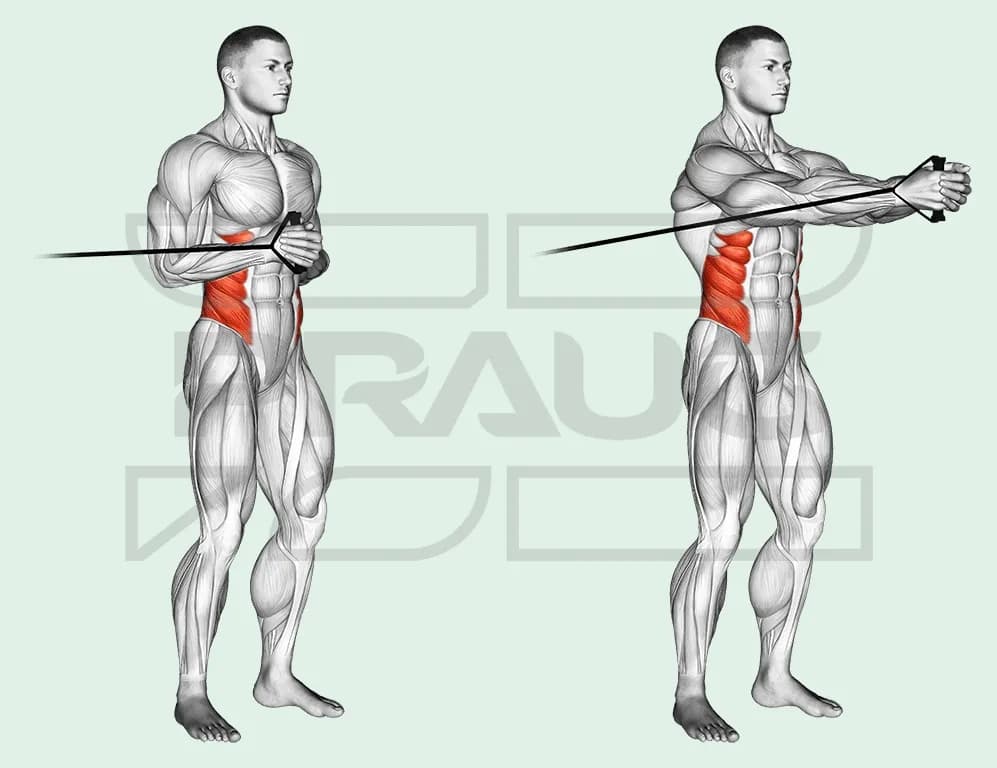
A forearm plank and a Pallof press offer other support directions. They can complement a goal without being compulsory partners in every session.
How to perform a forearm side plank
Use a comfortable mat and a version suited to current support capacity.
- Lie on one side with the forearm supported and the elbow around shoulder level.
- Use bent-knee support, staggered feet or stacked feet according to the difficulty you want.
- Organise the trunk and pelvis, then press into the forearm and lower-body support to raise the hips.
- Hold a controlled line through the chosen support points without letting the shoulder collapse.
- Breathe steadily and keep the head in a comfortable position.
- Lower under control, rest if needed and use comparable conditions on the other side.
Body line, shoulder support and common errors
If the pelvis progressively drops or turns, reduce duration or leverage. A change in position does not mean the obliques stop working and the shoulder takes every part of the load; it means the task has changed.
Do not force the elbow to an exact place if it causes discomfort, or hold the breath to reach a timer target. Knee support can make the task more manageable without making it pointless.
Stop for sharp pain and seek individual advice for persistent symptoms. A marked difference between sides may deserve attention, but a general guide cannot diagnose it or prescribe extra work automatically.
Knees, straight arms, leg lifts and elevated feet
Bent-knee support shortens the lever. Staggering the feet changes the base of support. A straight-arm side plank places a different demand on the wrist and shoulder and needs its own comfortable setup.
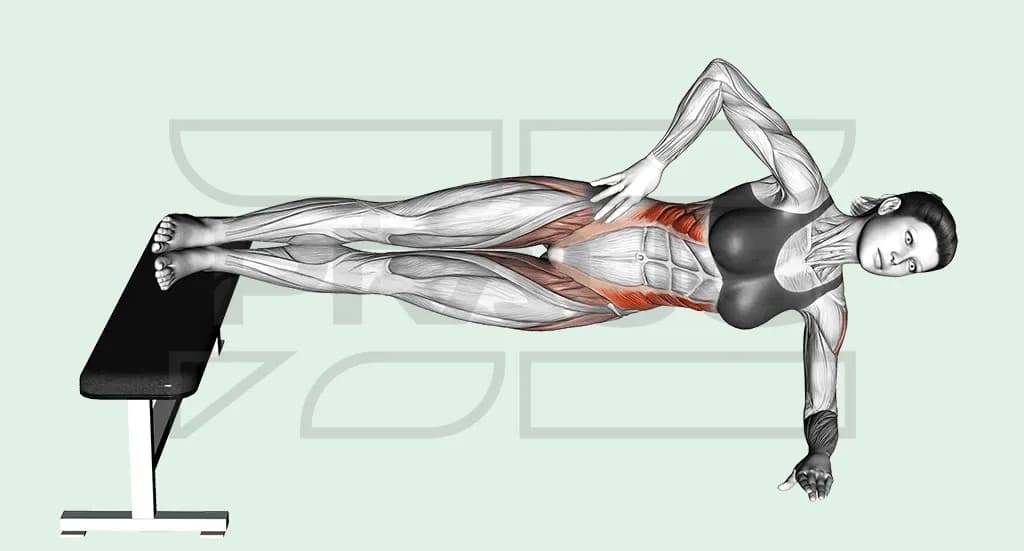
A deliberate hip-lowering-and-raising version becomes a dynamic task. A top-leg lift adds hip-abduction work; elevated feet change the body angle and need a stable support. None is a compulsory next step at a specific holding time.
A human flag is an advanced separate skill with no foot support and substantial equipment and strength requirements. It is not the routine endpoint of a side-plank progression.
External loading is optional and requires a secure position and exit method. Choosing a different lever or duration is another way to adjust demand.
Duration, repetitions and progression
One coaching example uses 3 holds of 20–45 seconds per side, or 3 sets of 10–15 deliberate dynamic repetitions, as coaching examples. Adapt these to the task and the rest of the week. Rest between sides if that helps preserve control.
There is no biological boundary at forty-five seconds beyond which the hold has no value. Introduce a harder version only when useful for the goal, rather than to satisfy a universal progression chart.
Record support, body angle, leg position, duration or repetitions, rest and effort. Compare several sessions and both sides under similar conditions. The abdominal exercise collection places this beside other trunk tasks.
Illustrated positions and variations
These original illustrations show example setups. Choose a range, support and difficulty you can control.
Side-support examples
Feet-elevated option
Frequently asked questions
Can I start with knees bent?
Yes. It shortens the lever and can make support more manageable. Use the version that lets you control the task while breathing.
Must I change versions at forty-five seconds?
No. That is a coaching reference, not a biological cutoff or required progression.
Do I have to switch sides without rest?
No. Rest as needed to keep the conditions and movement comparable.
Is a straight-arm version better?
It changes wrist and shoulder demands. Better depends on your goal and a setup you can use comfortably.
Sources and limitations
Sources support the passages that cite them. Practical suggestions are coaching choices to adapt to your own situation.
- Ekstrom et al. · 2007 · Electrical activity during nine bodyweight support exercises. ↗
Acute measurements in healthy adults. An activity threshold is not proof of later strength, growth or injury prevention.
- Youdas et al. · 2014 · Trunk and hip electrical activity during side-bridge variations. ↗
Twenty-five participants and acute comparisons, not long-term training outcomes or individual rehabilitation advice.
This general information does not replace individual advice. Zepraug’s limitations.